

Challenges are made to be overcome, and drones are removed from being immune. Probably the most testing of those, arguably, is that almost all drones are unable to take portrait photographs – they’ll solely seize panorama format photos. However it’s not the tip of the world as a result of our drone portrait pictures information will present you a easy method round the issue.
Even amongst the best drones, there are solely three shopper drones ever been made that may rotate the digital camera 90° into portrait (upright) format; the unique DJI Mavic Pro (opens in new tab), the DJI Mavic Mini 3 Pro, and the Autel EVO Lite (opens in new tab) with the latter two fashions being at the moment accessible. So, likelihood is, your drone is simply able to taking pictures photographs in a panorama format.
With this widespread limitation, the one strategy to seize portrait/upright format photos is to shoot vertical panoramas which are made up of three to 5 panorama photos. These are finest captured in Uncooked format, processed in Lightroom, after which merged collectively in Photoshop to create an upright photograph of a scene. The entire course of is straightforward to navigate, and with this information you’ll be capable of confidently create this sort of picture very quickly.
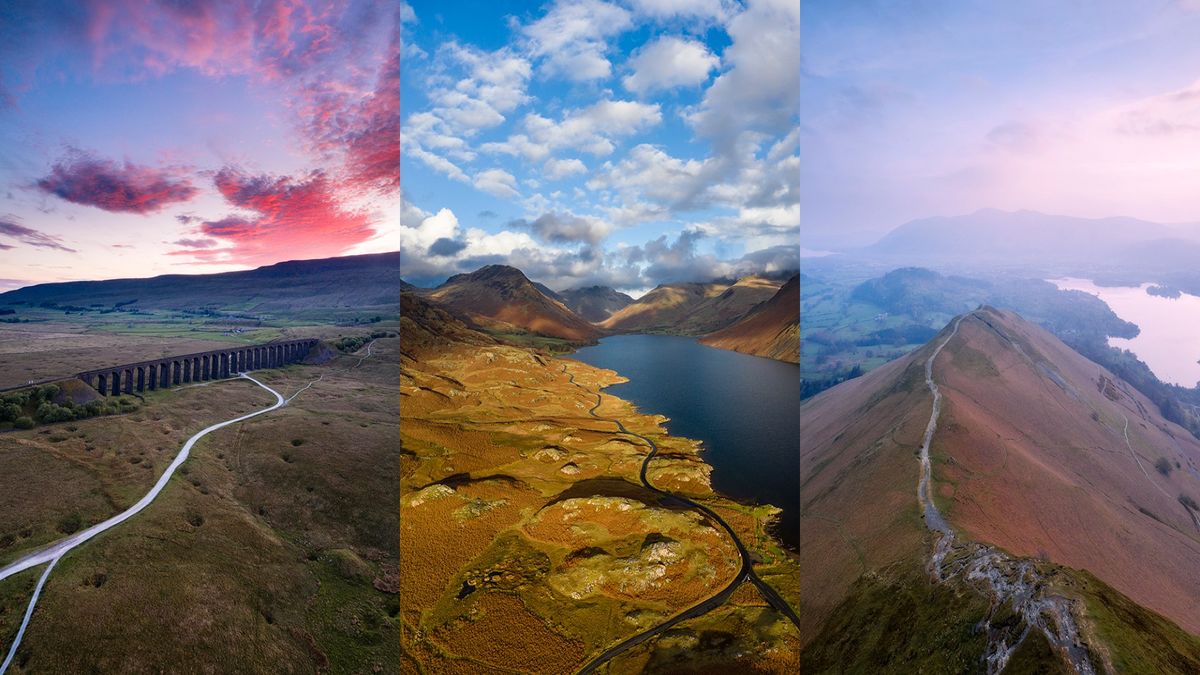
Picture 1 of 6

Step-by-step of find out how to shoot a vertical panorama with a drone
Taking pictures vertical panoramas will be achieved in lower than 20 seconds when you’ve shot this manner just a few instances. You merely compose your pictures, beginning on the high or backside of the scene, and shoot a picture earlier than rotating simply the gimbal so the present photograph overlaps half of the earlier to make sure a seamless mix throughout enhancing. Crucial side of taking pictures is balancing the publicity between the darker floor and brighter sky, so taking pictures with the sun behind the drone makes issues a lot simpler.
1. Fly into place

Examine a smartphone app similar to Drone Help to guarantee that it’s protected and authorized to fly in your chosen location, and that there aren’t any floor obstacles similar to pylons that would current a threat. Keep in mind, it’s necessary to pay attention to drone regulations in your space. Fly the drone into place and depart it in a hover whilst you modify the gimbal angle vertically to verify the point of view of the drone will can help you seize the scene vertically.
2. Shoot the primary picture

Set the digital camera to single shot mode and ensure file seize is ready to Uncooked. Set ISO to 100, and in case your drone has an adjustable aperture set this to between f/2.8 – f/5.6, then set your shutter velocity utilizing the histogram as a information. If in case you have a drone with a set aperture, merely modify the shutter velocity. Level the gimbal right down to the underside of the scene, and take the primary of the three to 5 pictures. Want some inspiration? Then take a look at our ‘Where can I fly my drone?’ article for some high location concepts.
3. Full the vertical panorama

Transfer the gimbal up barely and guarantee that the following shot comprises the highest half of the earlier shot. As you rotate the gimbal up, modify the shutter velocity to match the publicity in every shot. Take the following photograph and repeat till you’ve gotten all of the required photos. Some scenes might solely require three pictures, whereas others would require 4 or 5 to seize the entire vertical scene.
Step-by-step of find out how to edit a vertical panorama shot with a drone
The beauty of taking pictures vertical panoramas is that you find yourself with way more detailed, higher-resolution photos than your drone is natively able to capturing. To not point out, social media platforms typically favor portrait format photos over panorama. The enhancing course of is easy and requires Adobe Lightroom and Photoshop, that are essentially the most generally used photograph enhancing software program choices.
1. Import and course of

Import your photos into Lightroom and course of the primary picture of the set of three to 5 pictures. For these photos distinction was added utilizing the Tone Curve, the Whites and Blacks adjusted, and Texture and Readability elevated to intensify element. Relying on the scene, it’s possible you’ll want to regulate Shadows and Highlights, too. As soon as the primary picture is processed, maintain down Shift and click on on the final picture.
2. Sync settings and refine

Press the Sync button and when the dialogue field opens click on on Examine All after which on Synchronize to use the settings from the primary picture to all of the others so the processing matches. The publicity might differ barely in every, so undergo every picture and modify publicity if required so the publicity matches. As soon as joyful, choose all photos by clicking on the primary, maintain down Shift, and click on on the final.
3. Export, merge, and crop

In Photoshop, go to File>Automate>Photomerge and depart Format set to auto. Set Use to Folder and find your picture folder earlier than clicking on OK. As soon as the panorama has been assembled, use the Crop Software to crop out the empty space across the picture, after which use Save As to avoid wasting the brand new picture.
